I recently returned from an American road trip, where we drove around the Southwestern states in a 25-foot RV. One question I’m repeatedly asked about my trip is how we found campgrounds for parking our camper van for the night? My secret weapon for negotiating America’s campsites was the iOverlander phone app. Here are my top tips for using the app and for finding the best campgrounds.
Use the iOverlander app to find campgrounds
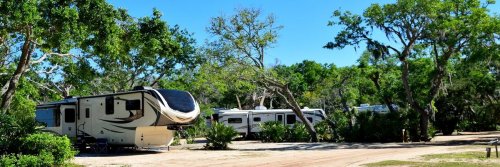
This app is the perfect companion for anyone travelling America by RV. The app allows you to set filters for what you are currently searching for, with options including different types of campgrounds and essential facilities. There are three types of campgrounds commonly found on the app—established campsites, wild camping and informal camping.
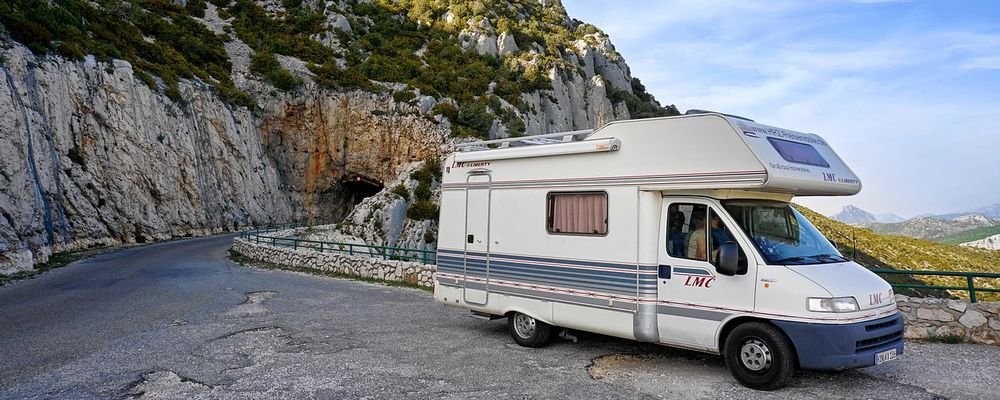 Choose the type of campground you are looking for
Established campgrounds are those that you pay for, including State-run sites, National Park campgrounds and privately owned sites. Informal camping usually means carparks or pullouts on the side of the road, which aren’t ideal but could be useful if you can’t find anywhere else. Wild camping refers to unofficial sites where other people have successfully parked for the night, often in particularly beautiful areas. We wild camped in the middle of the desert and deep in the forest during our trip.
Read the reviews
It’s important to read the reviews of the campgrounds you are looking at. Users can add campgrounds to the app when they find someplace new and anyone who stays there can add their review. Keep your eye out for information that suggests a spot may have closed or that people have been moved on in the middle of the night, most often associated with wild camping. It’s also useful to read reviews about the scenery, facilities, wildlife, and how easy the site is to access.
Embrace wild camping
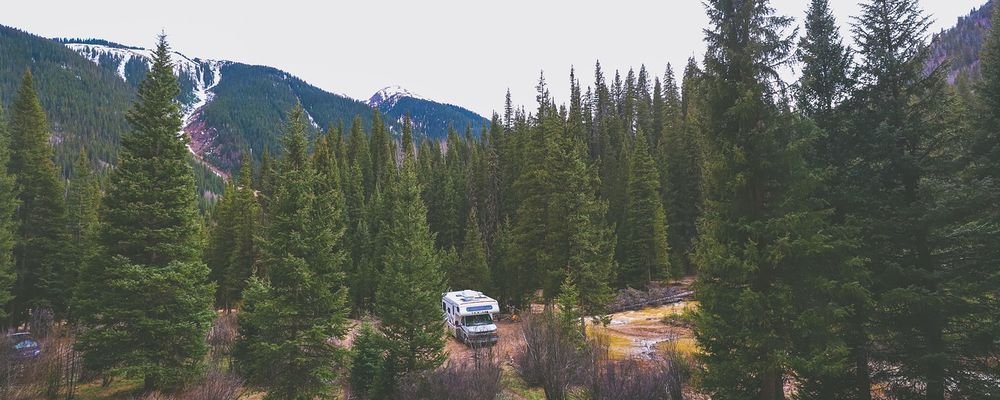
We stayed in many official campgrounds during our trip, but the wild camping spots that we found gave us a more authentic experience. Many of the popular wild camping sites come equipped with firepits, and there’s usually a small crowd of friendly people around, parked a good distance away from each other to maintain privacy. It’s also completely free!
 Check the amenities
Ensure that you check the amenities before heading to a campground to ensure that you will be welcome and that they have everything you need. Do RVs fit in their spots? Are they pet friendly? Do they have hook-up and dump stations? Always be thinking ahead to ensure you don’t run out of water or fill up your sanitation tank.
Look for amenities along your route
If you’re wild camping you can find amenities along your route by using the filters on the app. Search for propane fill-up stations, water taps and sanitation dump stations on the road ahead. You’ll usually find these facilities at gas stations or at campgrounds that charge a small fee.
Combine with Google Maps
I found the best way to use the app was to combine it with Google Maps, planning ahead and dropping markers at the exact positions of the campgrounds. This allowed us to put our journey into route planner to see how long the trip would take and ensured that we didn’t get lost if we lost signal. The iOverlander app does have GPS, but it isn’t the easiest to navigate with.
Be prepared for a variety of campground fees
To save money, we used a variety of wild camping spots and established campgrounds during our trip, but it’s worth noting that the fees for official campsites can massively vary. We found brilliant campgrounds for as little as $10-20 per night, but we also stayed at much more expensive sites, including one that was $70. The privately owned campgrounds tend to be the most expensive.
Be aware of laws and rules
It is illegal to wild camp in National Parks, for example, but there are often amazing wild camping spots just outside their boundaries. Also, be respectful of other campers, local residents and the surrounding wildlife and keep noise to a minimum, only using generators when necessary. Always leave your campsite exactly as you found it and take all your rubbish with you, or use the bins provided.
Plan ahead
If travelling at peak times, such as during the summer, on public holidays or on weekends, you may need to book popular campgrounds in advance. Some popular campsites in National Parks, such as those in Yosemite, need to be booked several months in advance for these peak times.
Arrive mid-morning
If you haven’t pre-booked a campground, you have more chance of getting a spot if you arrive before 12 noon. We arrived at one of Yosemite’s popular campgrounds late morning (in early March) and easily secured a spot, but when we returned from a hike a few hours later, the campground was completely full.
Emma Lavelle is a UK based writer and photographer and has her own blog Field and Nest.

